1 (855) 217-8437

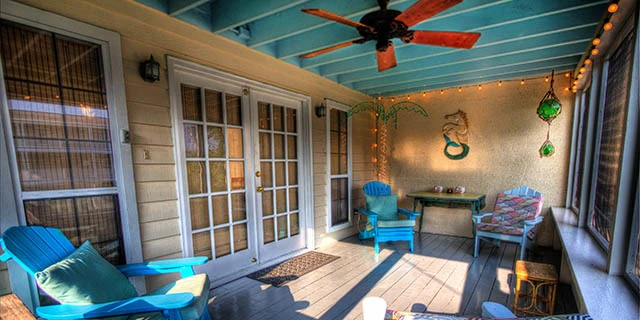
Add a Ceiling Fan to Your Covered Patio
No one would dare take a cool breeze for granted, especially in the dog days of summer! What if you could harness this feeling anytime you wanted? If you have a covered patio, adding a ceiling fan can help you do just that.
A ceiling fan is the perfect compliment to your rocking chair, a cold glass of iced tea and your current summer read. This outdoor appliance will keep you cool and comfortable all day long, even on the hottest of days. Neighborly invites you to consider these tips and tricks when adding a ceiling fan to your covered patio:
First things first
- Choosing a fan – You’ve found the perfect ceiling fan, but it’s designed to be used indoors. Even if your porch is well covered, there are several reasons why you should reconsider this choice. Outdoor fans are made to withstand the elements, typically featuring ABS (all-weather) blades. The motor will also have a waterproof seal. Look for fans that display a “damp” or “wet” rating – a “dry” rating will not weather the elements found outdoors.
- Electrical work – Handling the electrical wiring behind your ceiling fan can seem like a daunting task. You will need to mount the electrical box and run wiring from a power source such as an outlet or the main breaker. Be sure to turn off the power before handling electrical wiring. Need help with this part? A friendly technician at Mr. Electric would be more than happy to help!
The installation basics
- Situate the wiring. As previously stated, you may want to enlist an electrician for help if you’re hesitant about the electrical aspects of installation. Be sure to have the power shut off throughout the entire installation process.
- Mount bracket to junction box. Choose a bracket labeled “old work,” which indicates that you’re adding the fan to an existing ceiling.
- Connect the body of the ceiling fan to the bracket. This is when you’ll connect the wiring from the junction box to the machine.
- Attach blades to the motor. Make sure to tighten the screws so the blades fit snugly.
- Once the fan is completely assembled, turn on the power. Switch your fan on the highest setting and watch for any unwanted “wobbling.” This way you can ensure your fan is safely fastened to the ceiling.
Additional tips
- Check the direction – Be sure that your fan blades turn counter-clockwise. When this direction is utilized, the air will be pushed down, which increases efficiency and the amount of air that reaches you.
- Go long – Contrary to what one might expect, long, skinny blades cool better then larger, wider blades. While you’re at it, choose a system less than five blades for optimal cooling power. When there’s more space between blades, there’s more space for air to be drawn through.
- Use a down rod – If your covered patio has high ceilings, consider adding a down rod to your ceiling fan system. Air flow is less restricted when the ceiling fan is positioned a little farther from the ceiling.
It may not be 75 degrees outside, but a ceiling fan may be just the thing to convince you otherwise! Looking for more expert advice for your home? Check out more helpful Neighborly blogs!
Some of the Neighborly home service brands mentioned in this post may not be available in your zip code. To find out which experts are nearby, search for services in your area.
Depending on current health and safety regulations in your area, some of the services mentioned in this post may not be available. Neighborly service providers will follow the latest health and safety guidelines provided by the local and state governments. Please check with your local Neighborly service provider for details at the time you need service(s).
Use the Neighborly App to get connected to local home service professionals. Download and receive offers only available on the App.
Download It Today